3.1 KiB
Turn the speed blue
A getting started guide for openpilot development
In 30 minutes, we'll get an openpilot development environment setup on your computer and make some changes to openpilot's UI.
And if you have a comma 3/3X, we'll deploy the change to your device for testing.
1. Setup your development environment
Run this to clone openpilot and install all the dependencies:
curl -fsSL openpilot.comma.ai | bash
Navigate to openpilot folder & activate a Python virtual environment
cd openpilot
source .venv/bin/activate
Then, compile openpilot:
scons -j8
2. Run replay
We'll run the replay tool with the demo route to get data streaming for testing our UI changes.
# in terminal 1
tools/replay/replay --demo

# in terminal 2
selfdrive/ui/ui
The openpilot UI should launch and show a replay of the demo route.
If you have your own comma device, you can replace --demo with one of your own routes from comma connect.
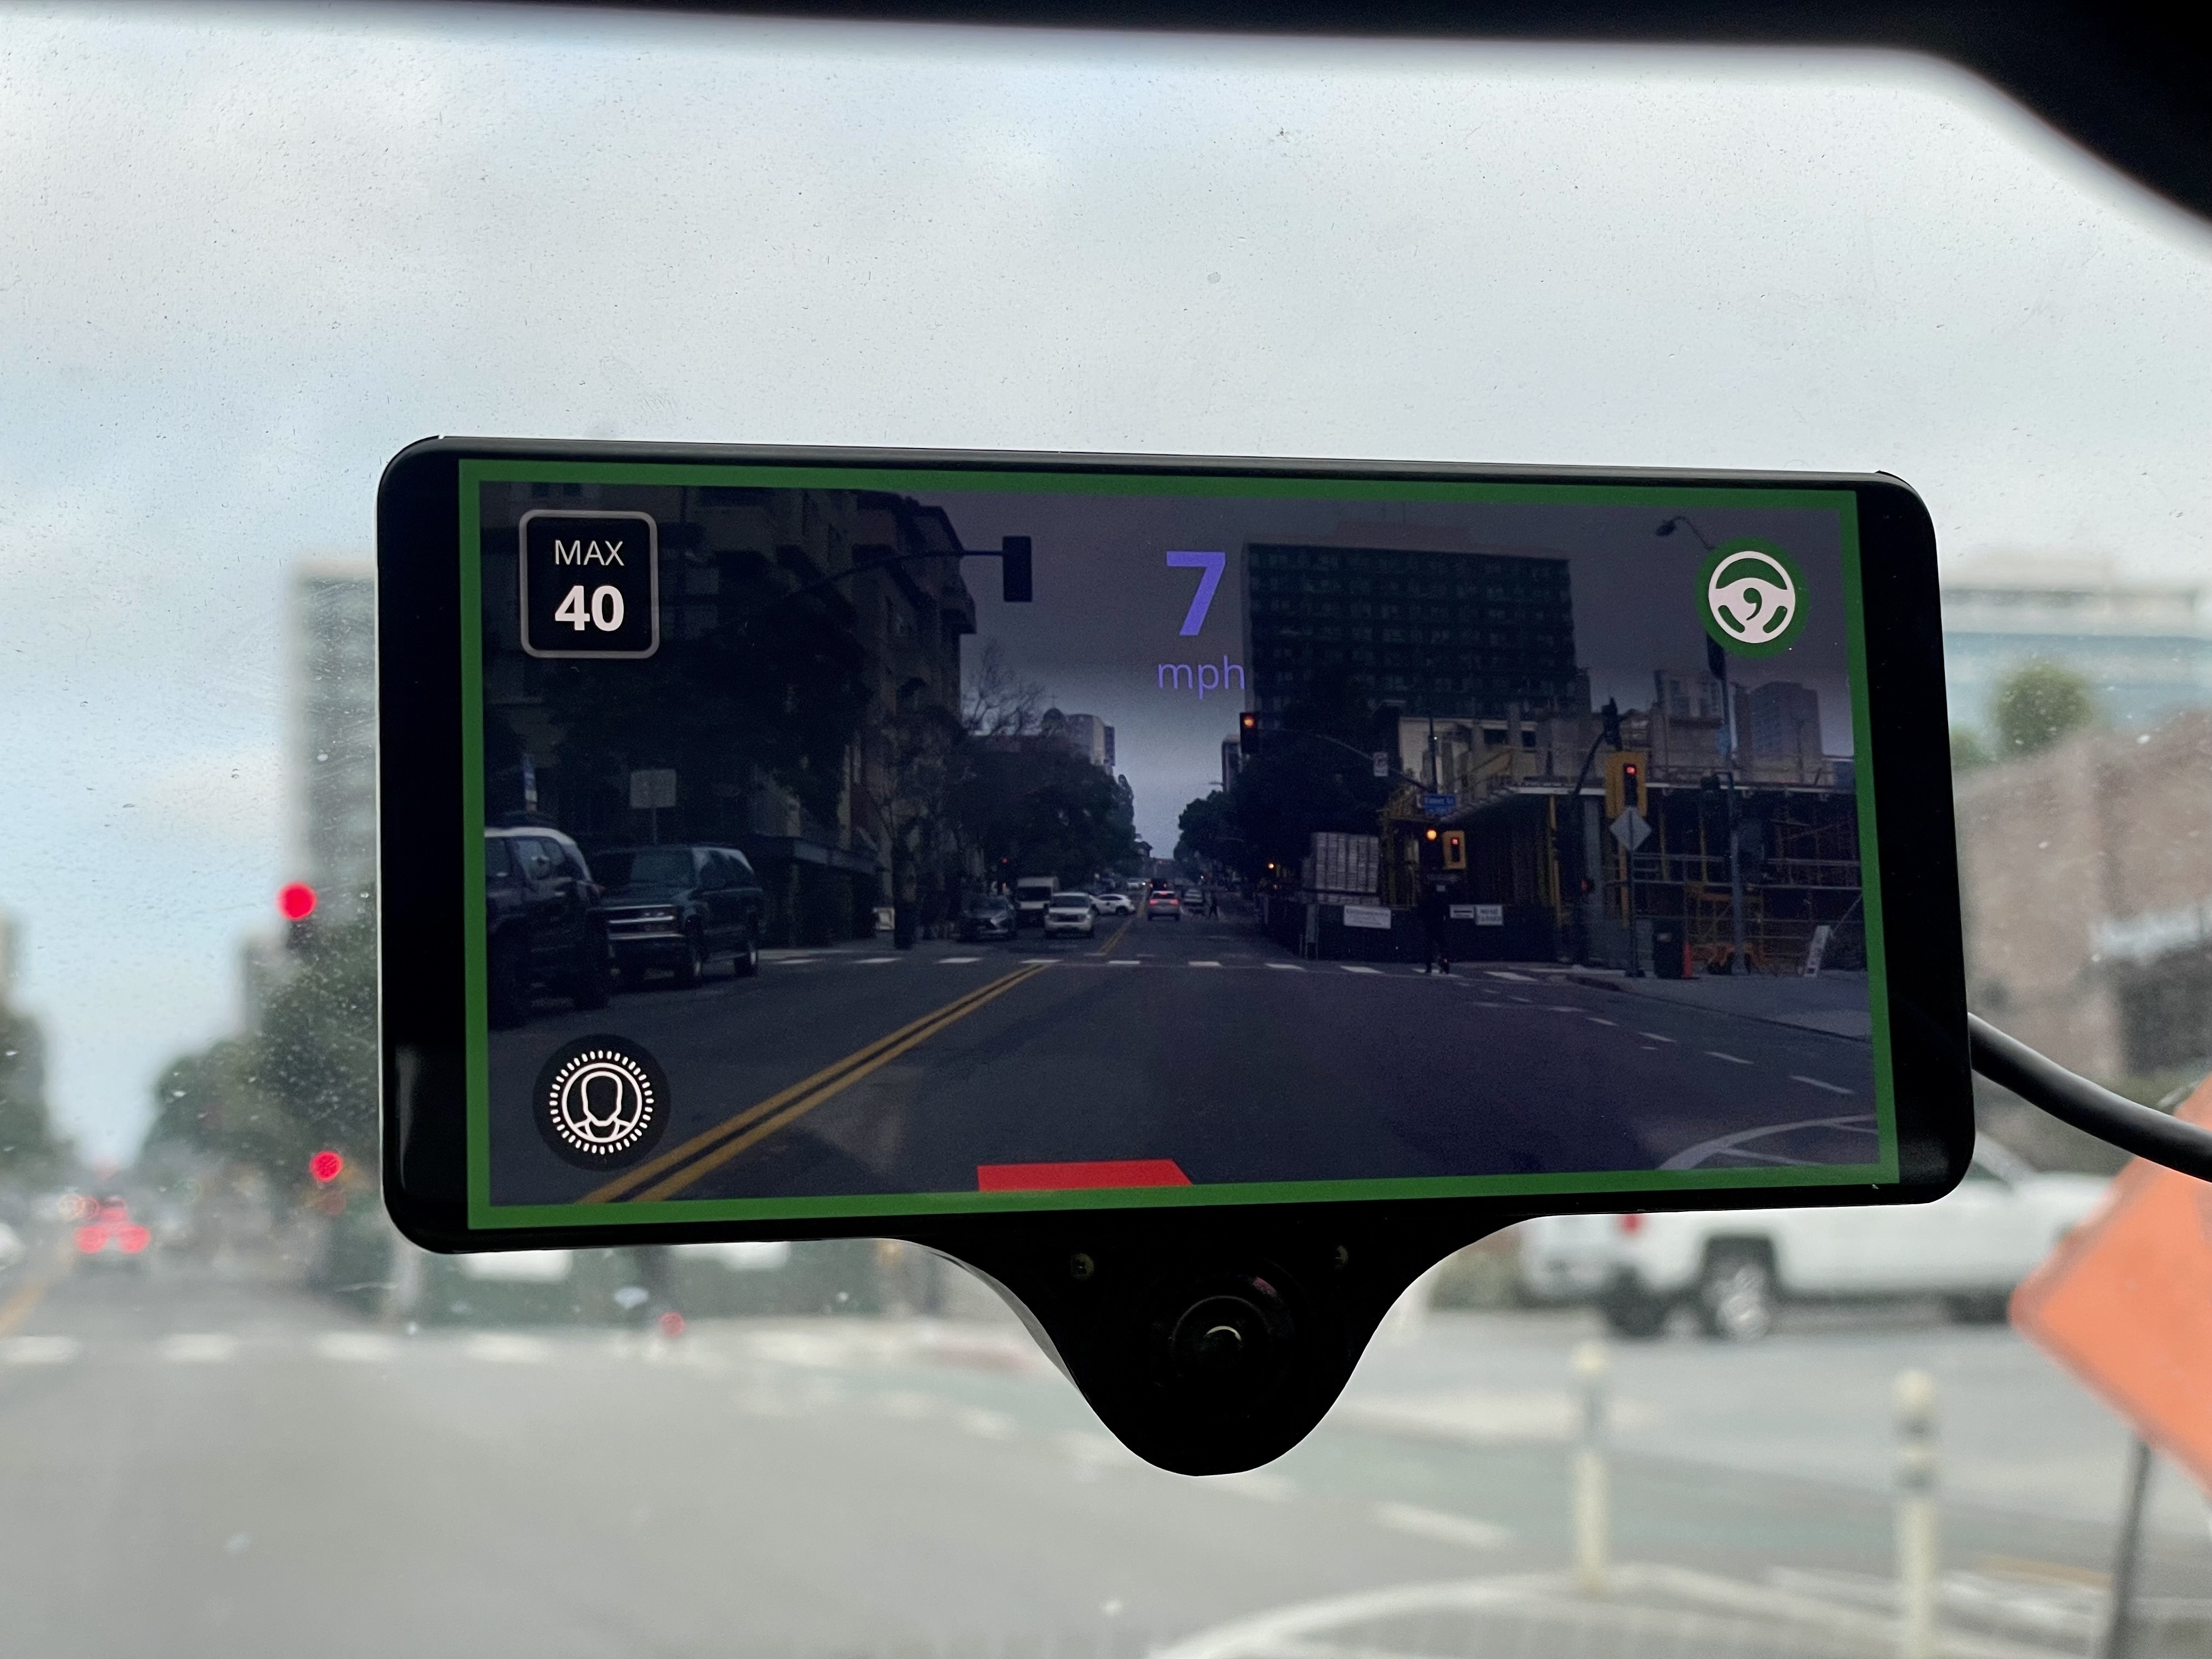
3. Make the speed blue
Search for “mph” with git grep in the ui folder.
$ git grep "mph" selfdrive/ui/
paint.cc:  ui_draw_text(s, s->fb_w/2, 290, s->scene.is_metric ? "km/h" : "mph", 36 * 2.5, COLOR_WHITE_ALPHA(200), "sans-regular");
The line right above contains the actual speed. Unfortunately, COLOR_BLUE isn’t defined, but a git grep of COLOR_WHITE shows it’s nvgRGBA(255, 255, 255, 255). Personally, I like a lighter blue, so I went with #8080FF.
$ git diff
diff --git a/selfdrive/ui/paint.cc b/selfdrive/ui/paint.cc
index 821d95115..cc996eaa1 100644
--- a/selfdrive/ui/paint.cc
+++ b/selfdrive/ui/paint.cc
@@ -175,8 +175,8 @@ static void ui_draw_vision_speed(UIState *s) {
   const float speed = std::max(0.0, (*s->sm)["carState"].getCarState().getVEgo() * (s->scene.is_metric ? 3.6 : 2.2369363));
   const std::string speed_str = std::to_string((int)std::nearbyint(speed));
   nvgTextAlign(s->vg, NVG_ALIGN_CENTER | NVG_ALIGN_BASELINE);
-  ui_draw_text(s, s->fb_w/2, 210, speed_str.c_str(), 96 * 2.5, COLOR_WHITE, "sans-bold");
-  ui_draw_text(s, s->fb_w/2, 290, s->scene.is_metric ? "km/h" : "mph", 36 * 2.5, COLOR_WHITE_ALPHA(200), "sans-regular");
+  ui_draw_text(s, s->fb_w/2, 210, speed_str.c_str(), 96 * 2.5, nvgRGBA(128, 128, 255, 255), "sans-bold");
+  ui_draw_text(s, s->fb_w/2, 290, s->scene.is_metric ? "km/h" : "mph", 36 * 2.5, nvgRGBA(128, 128, 255, 200), "sans-regular");
 }

 static void ui_draw_vision_event(UIState *s) {
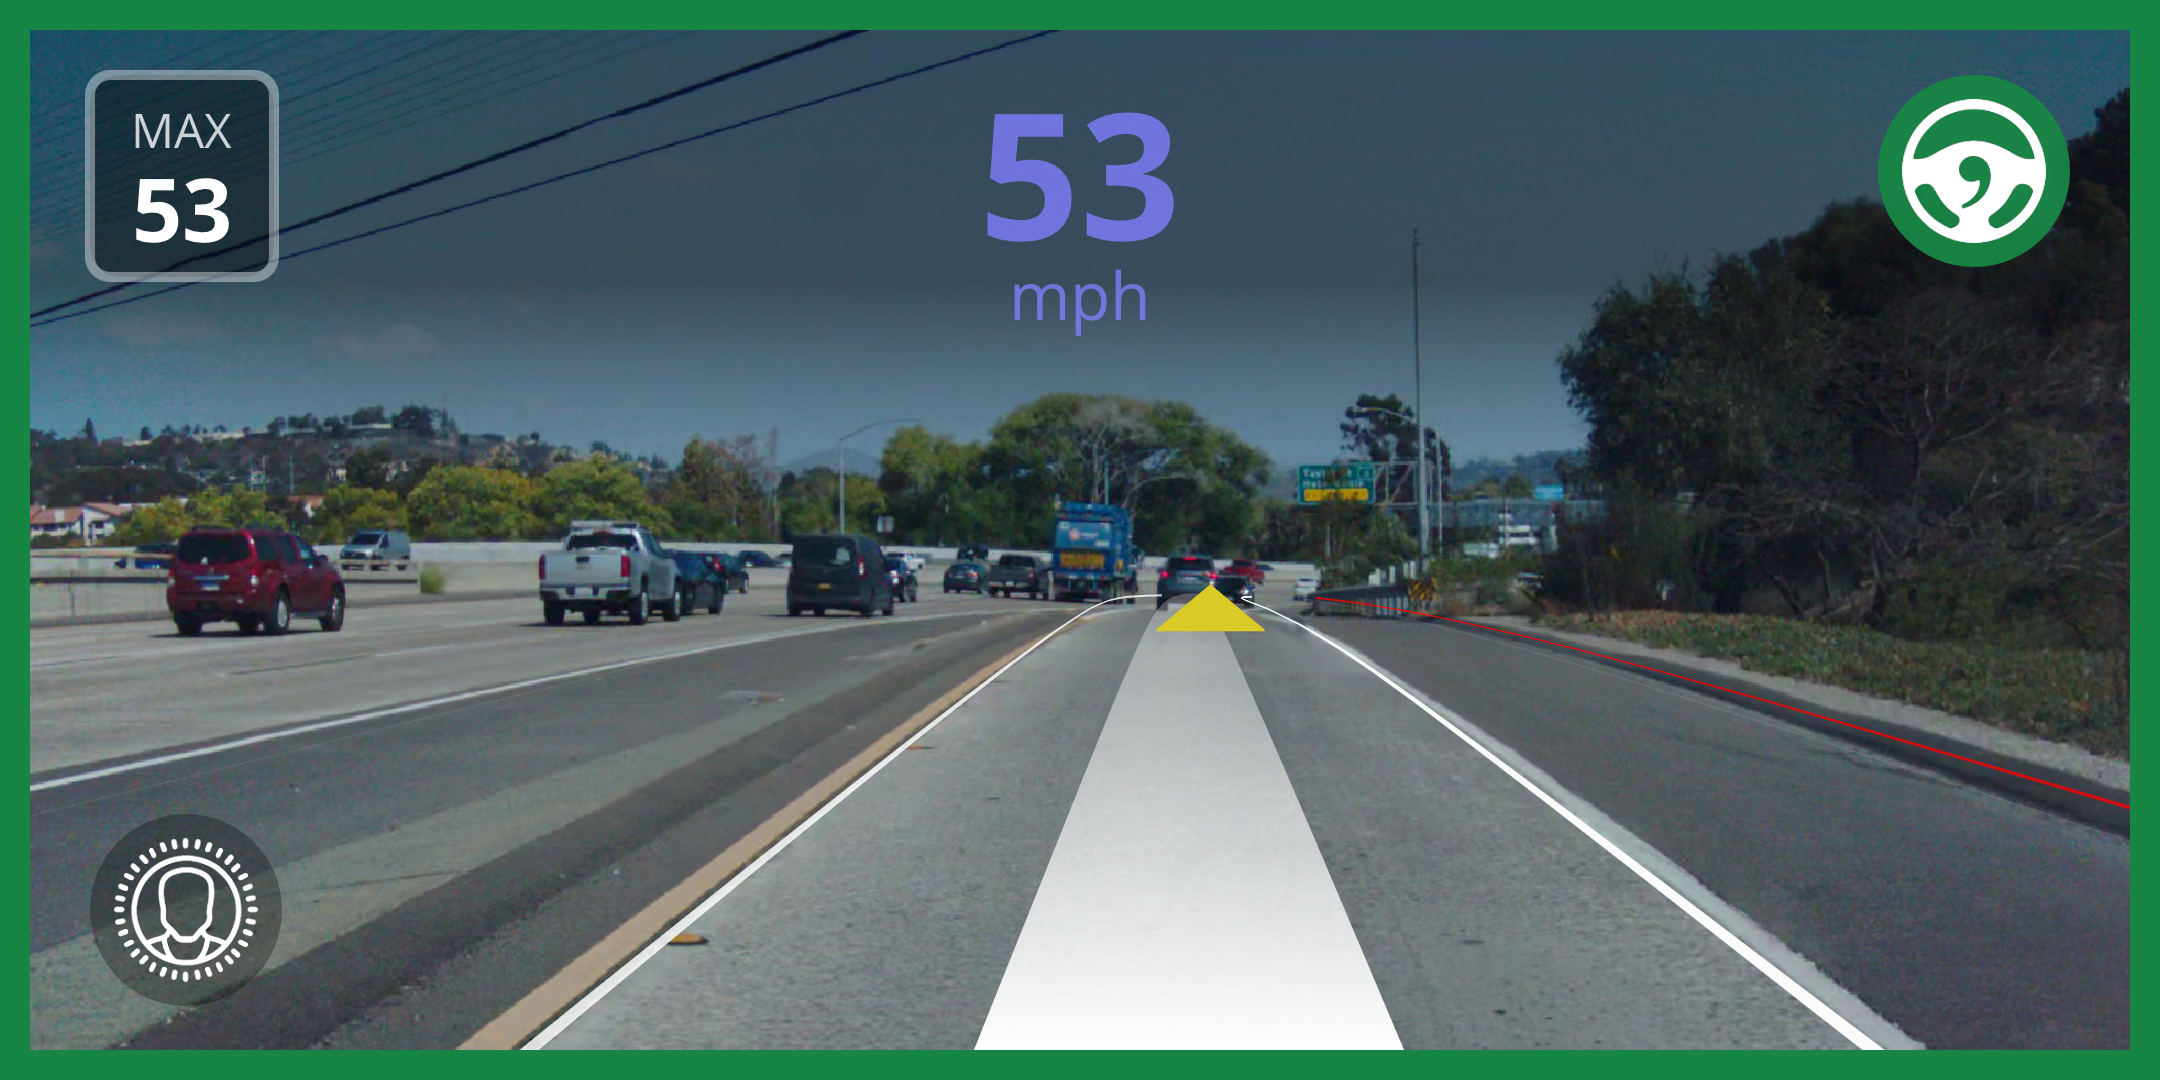
4. Rebuild UI, and admire your work
scons -j8 && selfdrive/ui/ui
5. Push your fork to GitHub
Click fork on GitHub. Then, push with:
git remote rm origin
git remote add origin git@github.com:<your-github-username>/openpilot.git
git add .
git commit -m "Make the speed blue."
git push --set-upstream origin master
6. Run your fork on device in your car!
Uninstall openpilot from your device through the settings. Then, enter the URL for your very own installer:
installer.comma.ai/<your-github-username>/master
7. Admire your work IRL