You can not select more than 25 topics
Topics must start with a letter or number, can include dashes ('-') and can be up to 35 characters long.
114 lines
2.9 KiB
114 lines
2.9 KiB
# Turn the speed blue
|
|
*A getting started guide for openpilot development*
|
|
|
|
In 30 minutes, we'll get an openpilot development environment set up on your computer and make some changes to openpilot's UI.
|
|
|
|
And if you have a comma 3X, we'll deploy the change to your device for testing.
|
|
|
|
## 1. Set up your development environment
|
|
|
|
Run this to clone openpilot and install all the dependencies:
|
|
```bash
|
|
bash <(curl -fsSL openpilot.comma.ai)
|
|
```
|
|
|
|
Navigate to openpilot folder & activate a Python virtual environment
|
|
```bash
|
|
cd openpilot
|
|
source .venv/bin/activate
|
|
```
|
|
|
|
Then, compile openpilot:
|
|
```bash
|
|
scons -j$(nproc)
|
|
```
|
|
|
|
## 2. Run replay
|
|
|
|
We'll run the `replay` tool with the demo route to get data streaming for testing our UI changes.
|
|
```bash
|
|
# in terminal 1
|
|
tools/replay/replay --demo
|
|
|
|
# in terminal 2
|
|
selfdrive/ui/ui
|
|
```
|
|
|
|
The openpilot UI should launch and show a replay of the demo route.
|
|
|
|
If you have your own comma device, you can replace `--demo` with one of your own routes from comma connect.
|
|
|
|
|
|
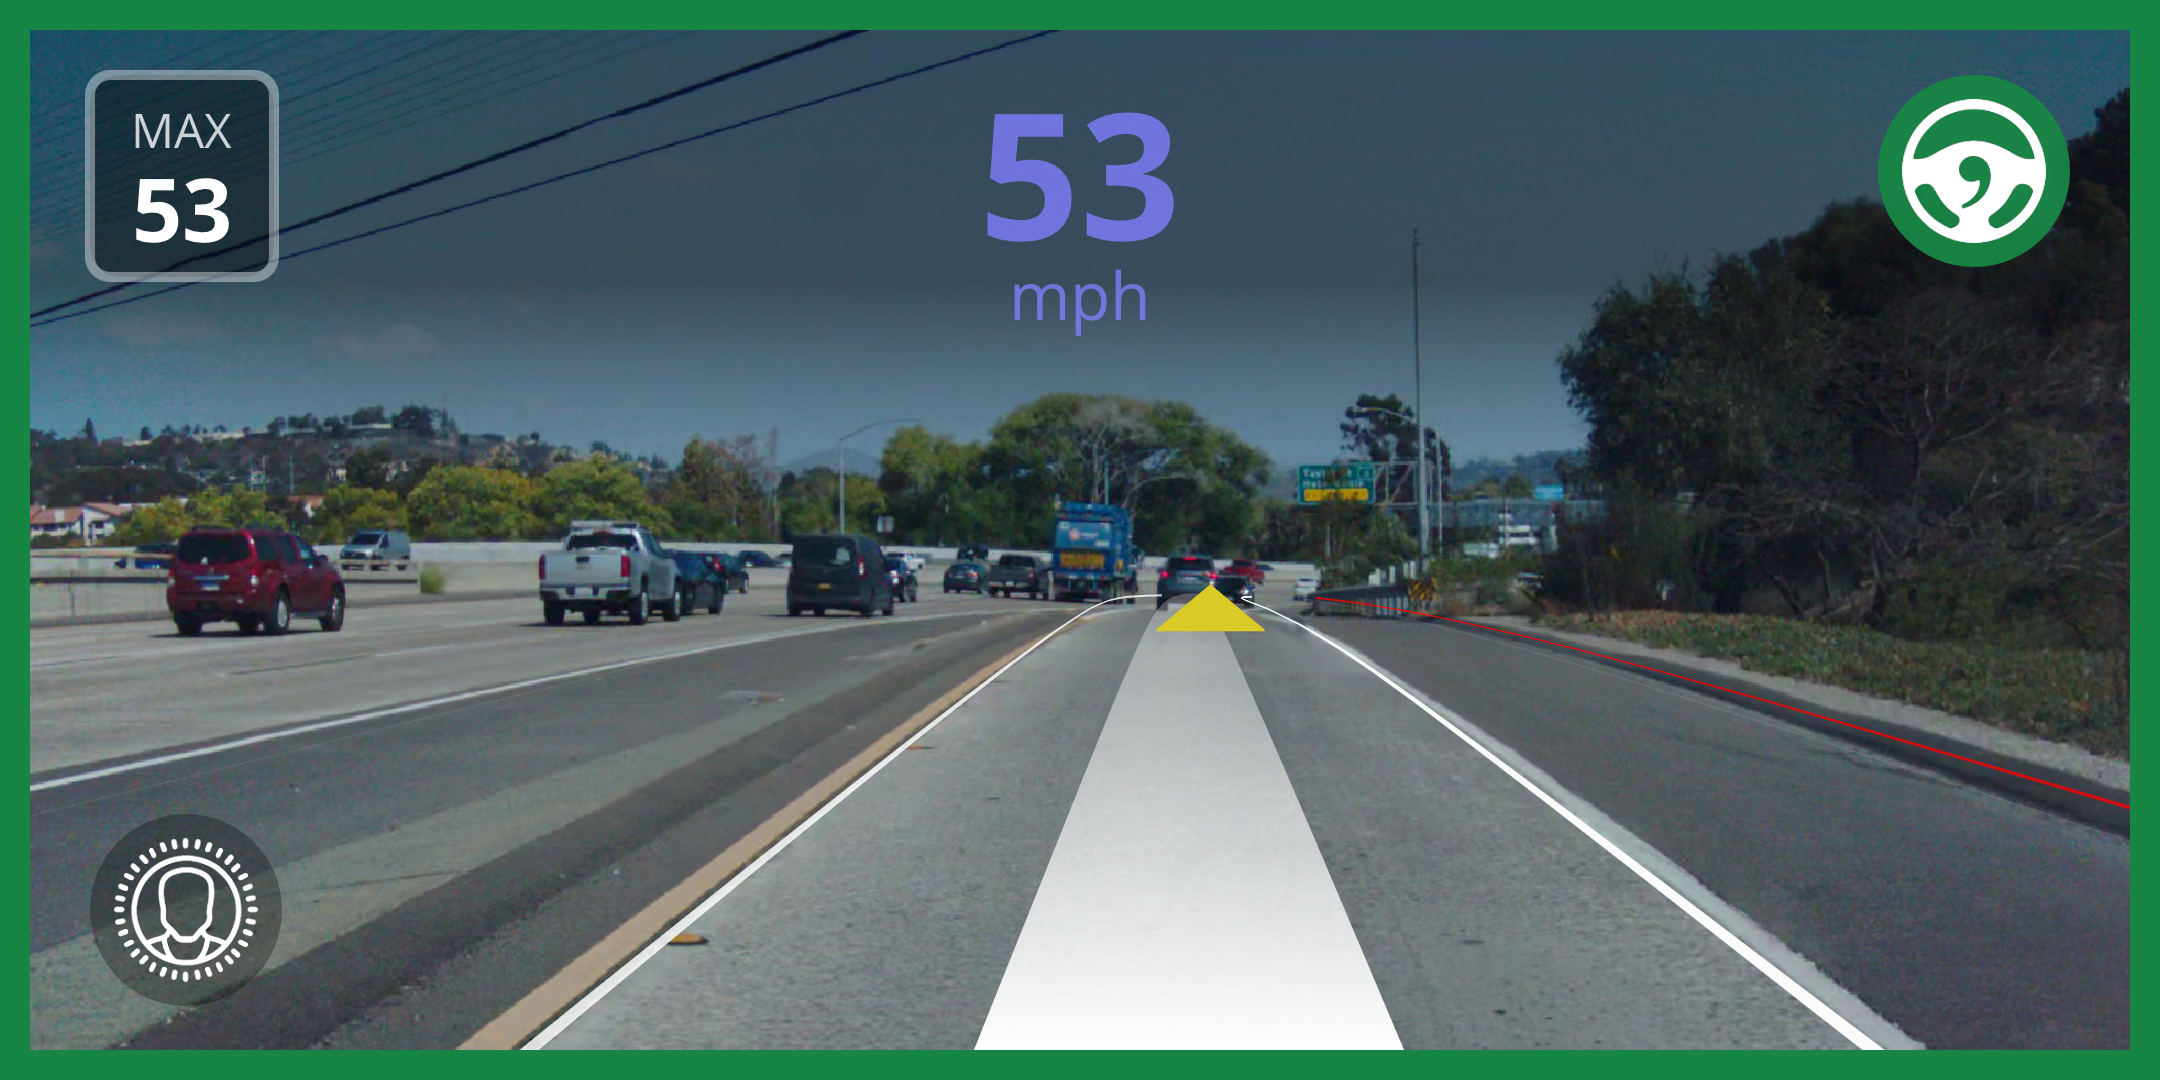
## 3. Make the speed blue
|
|
|
|
Now let’s update the speed display color in the UI.
|
|
|
|
Search for the function responsible for rendering UI text:
|
|
```bash
|
|
git grep "drawText" selfdrive/ui/qt/onroad/hud.cc
|
|
```
|
|
|
|
You’ll find the relevant code inside `selfdrive/ui/qt/onroad/hud.cc`, in this function:
|
|
|
|
```cpp
|
|
void HudRenderer::drawText(QPainter &p, int x, int y, const QString &text, int alpha) {
|
|
QRect real_rect = p.fontMetrics().boundingRect(text);
|
|
real_rect.moveCenter({x, y - real_rect.height() / 2});
|
|
|
|
p.setPen(QColor(0xff, 0xff, 0xff, alpha)); // <- this sets the speed text color
|
|
p.drawText(real_rect.x(), real_rect.bottom(), text);
|
|
}
|
|
```
|
|
|
|
Change the `QColor(...)` line to make it **blue** instead of white. A nice soft blue is `#8080FF`, which translates to:
|
|
|
|
```diff
|
|
- p.setPen(QColor(0xff, 0xff, 0xff, alpha));
|
|
+ p.setPen(QColor(0x80, 0x80, 0xFF, alpha));
|
|
```
|
|
|
|
This change will tint all speed-related UI text to blue with the same transparency (`alpha`).
|
|
|
|
---
|
|
|
|
## 4. Rebuild the UI
|
|
|
|
After making changes, rebuild Openpilot so your new UI is compiled:
|
|
```bash
|
|
scons -j$(nproc) && selfdrive/ui/ui
|
|
```
|
|
|
|
|
|
You should now see the speed displayed in a nice blue shade during the demo replay.
|
|
|
|
---
|
|
|
|
## 5. Push your fork to GitHub
|
|
|
|
Click **"Fork"** on the [Openpilot GitHub repo](https://github.com/commaai/openpilot). Then push with:
|
|
```bash
|
|
git remote rm origin
|
|
git remote add origin git@github.com:<your-github-username>/openpilot.git
|
|
git add .
|
|
git commit -m "Make the speed display blue"
|
|
git push --set-upstream origin master
|
|
```
|
|
|
|
---
|
|
|
|
## 6. Run your fork on your comma device
|
|
|
|
Uninstall Openpilot through the settings on your device.
|
|
|
|
Then reinstall using your own GitHub-hosted fork:
|
|
```
|
|
installer.comma.ai/<your-github-username>/master
|
|
```
|
|
|
|
---
|
|
|
|
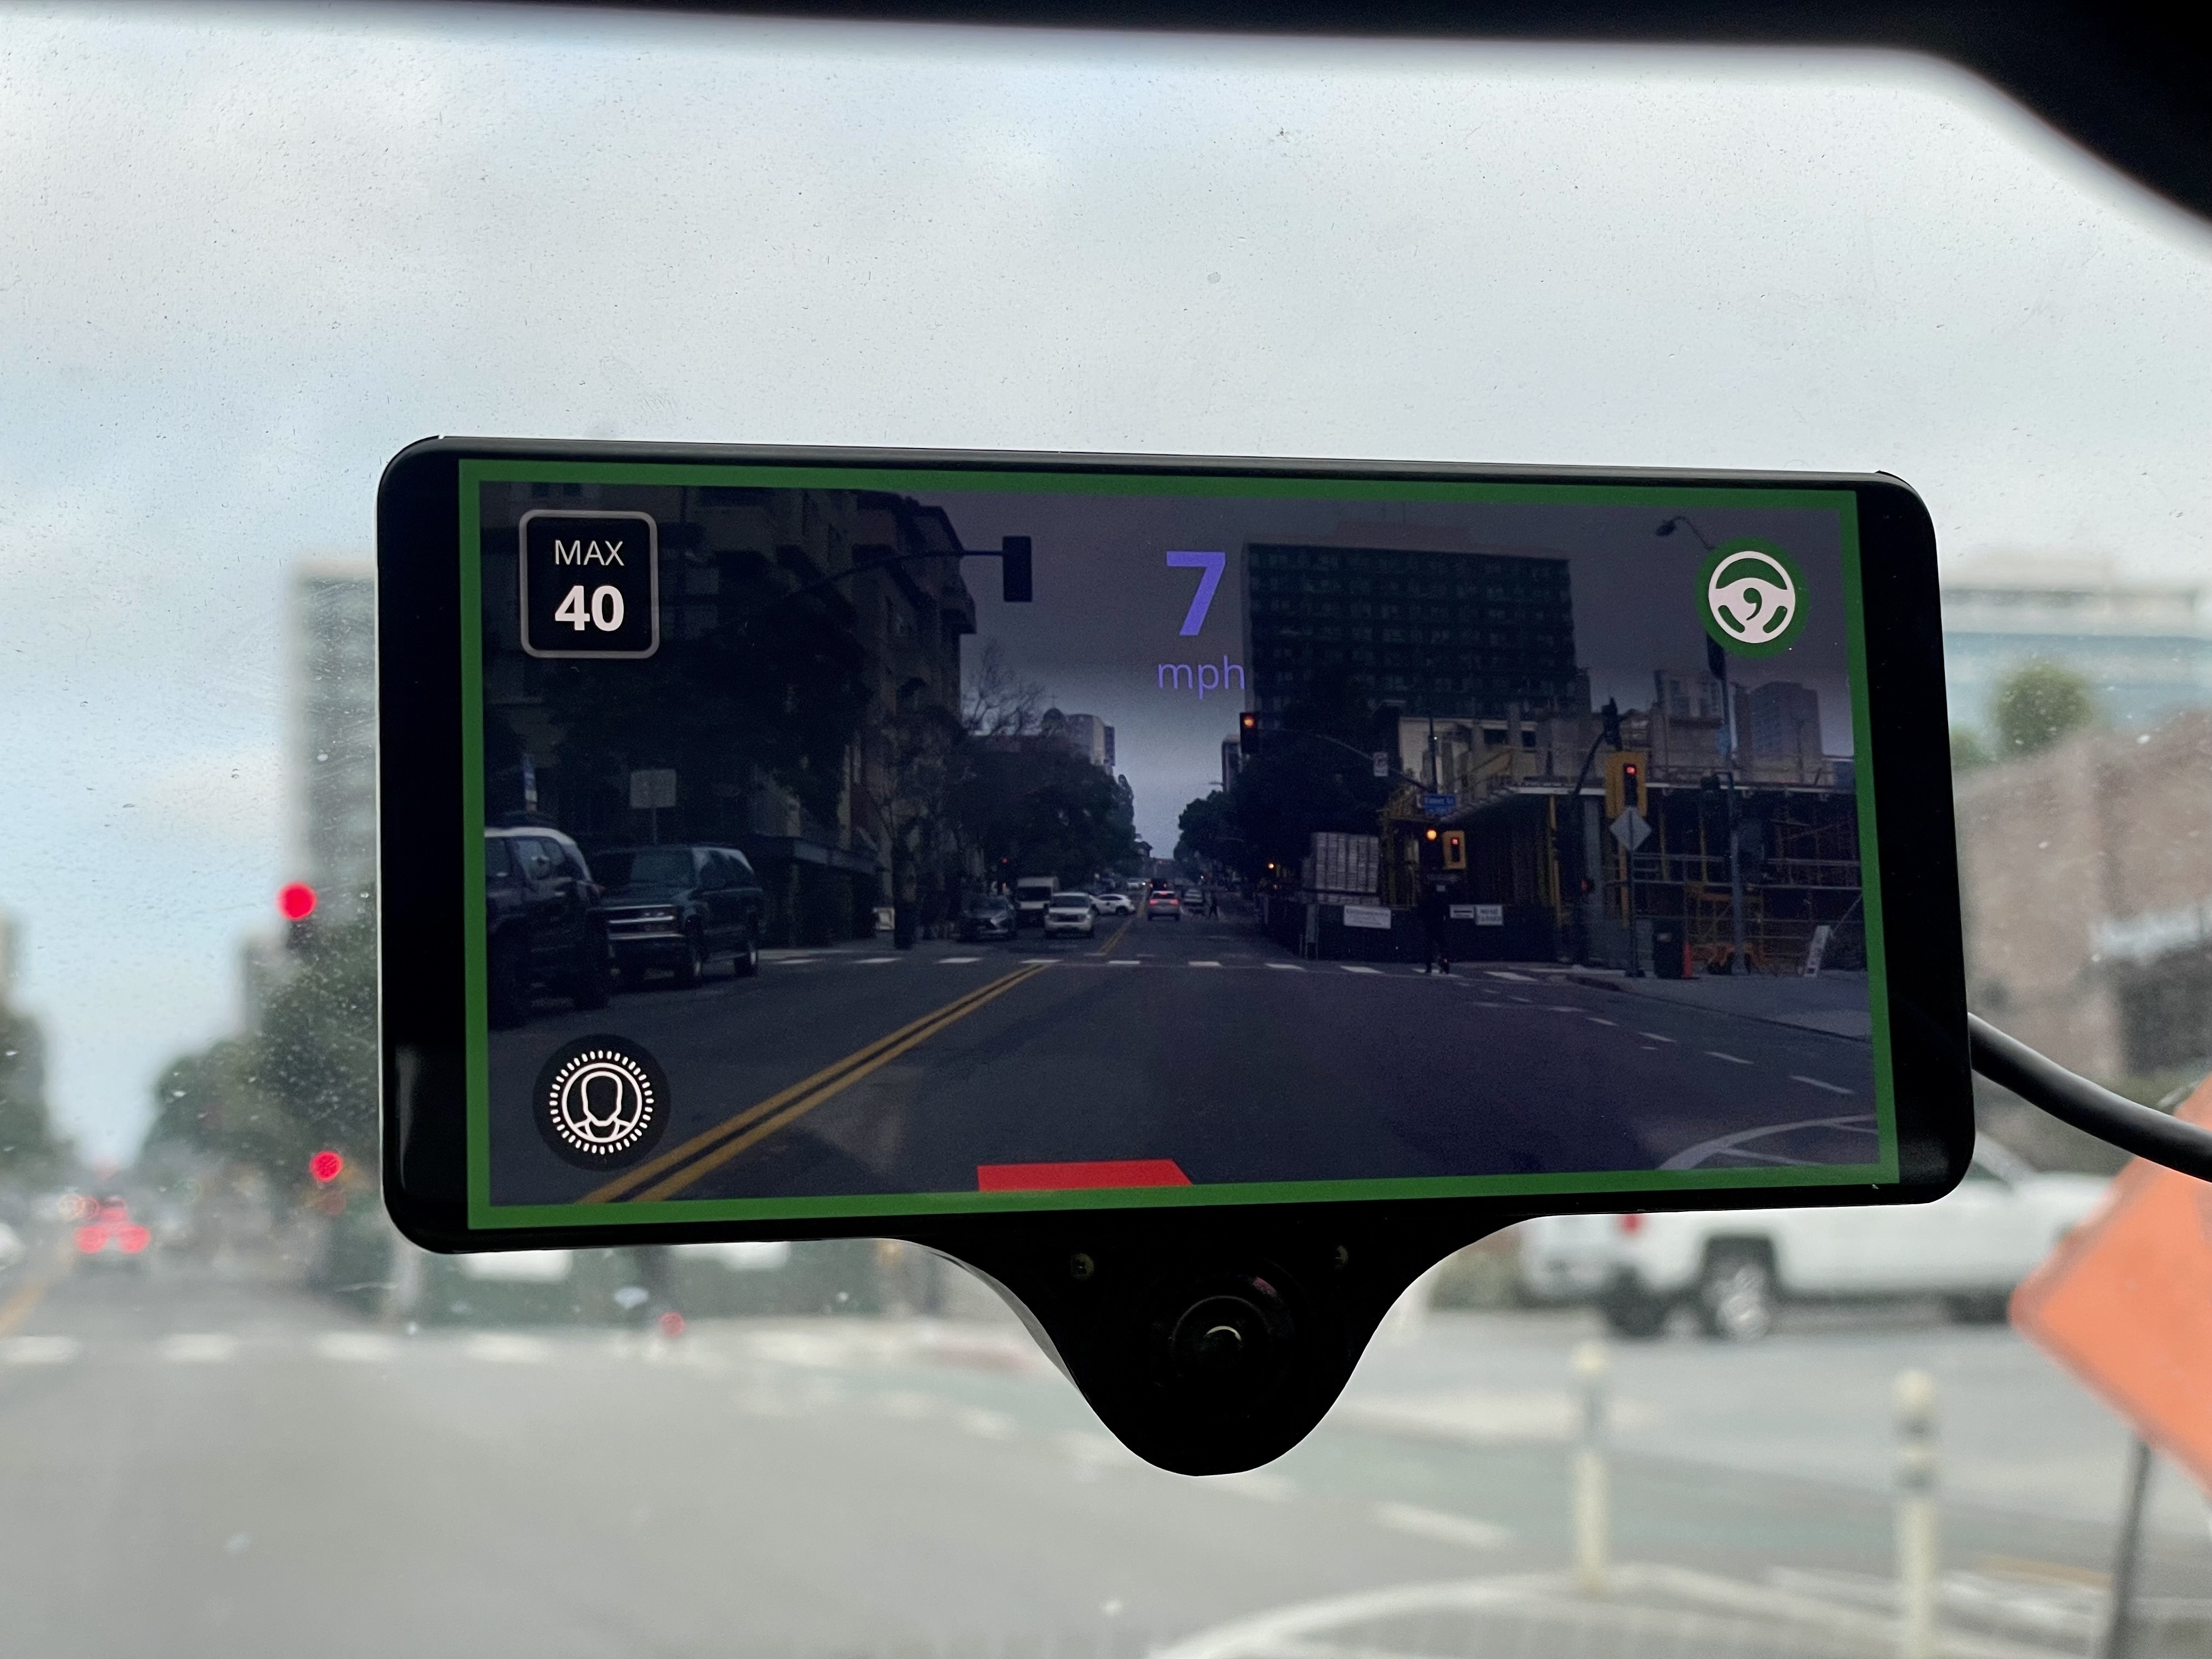
## 7. Admire your work IRL 🚗💨
|
|
|
|
You’ve now successfully modified Openpilot’s UI and deployed it to your own car!
|
|
|
|
|
|
|